Showing posts with label hobbycraft. Show all posts

Thursday, November 01, 2018

Plaid Christmas Part Two

Hi again, this is the second card I made using the Witt & Sass Plaid Stencil (The first one was on Tuesday!) and this time I used some blues!


So this is just distress inks and glittery texture paste through the awesome stencil and I decided to make the background the main feature of the card. 


Large snowflake from an old card kit, ribbon from Hobbycraft and greeting in Bernadette Rough Font that I made on my computer. I used 3D foam to mount my topper onto a 7x5 card blank.


Thanks for putting up with some early Christmas cards, I know it's a bit too early for that! If you would like to see more of what's happening at Witt and Sass, why not pop to look at the official blog?


Friday, September 22, 2017

Biker chick!

I had a commission in for a "Burgundy haired biker chick with a basket of cats on the front of her motorbike" card and had a hunt round for a suitable digi. It was for a 60th birthday so I wanted something not too childish but still fairly cute. I found this awesome image from The Paper Shelter called "Undetected on the Routes"!


Obviously I couldn't find one with a basket of cats on the front so I had to add that in. I amended the original digistamp and added in a basket, then took the bike light off the original stamp and put it back to the front of the bike. So my cats were kinda sewn into place!


The image is polychromo pencils on kraft card with white posca pen highlights on the eyes and glossy accents on the lights and googles. I am particularly happy with how to metal work on the exhausts turned out!


I matted the image onto a 17 x 17 cm card blank made from pre-printed card stock (I think from Everycraftsapound?) and added flowers from Wild Orchid & Hobbycraft.

Thursday, July 13, 2017

Somebunny!

Back with some more joys from The Crafting Desert Divas who have some of the cutest stamps at the moment, luckily Norman has stamped me some of her new ones so I got this fabulous group from the set called "Somebunny" to colour.


I coloured the bunnies and their carrot house using copics. I added some glossy accents to their eyes to lively them up a bit. :)
The background is distress inks and oxides splashed with water.
The fonts are Courier and Lobster Two.
 

The washi tape is more from Hobbycrafts, I love the glitter tapes, so much easier than ribbon! I don't feel I have used any ribbon in ages, getting harder and harder to justify all that ribbon storage space in the craft room! :)

The hillside die is from Crafty Kitty Cat Shop. The rectangle die is from Cottagecutz. The background paper is from Tonic, Mid Summer Mornings.

I debated whether to make this into a new home card, or even a new arrival card, but opted birthday in the end. Shows it's quite an adaptable set tho.

Wednesday, July 12, 2017

Yeti Part 2.

The second of the Yeti cards I made from the Crafting Desert Divas Yeti to Party set, that Norms kindly stamped for me to colour. I kept this one in blue/green tones so it might be suitable to send to a boy.


Yeti coloured with copics. Background in distress inks/oxides splashed with water. Hillsides are from The Crafty Kitty Catshop. Washi tape is from Hobbycraft. Background patterned paper is from Tonic "Mid Summer Mornings" 8x8 pad. Fonts are Courier and Lobster Two. Added stickles and glossy accents at the end. :)

Tuesday, July 11, 2017

Yeti Part 1.

Are you Yeti to party? I'm not sure I am quite in the mood to party (toothache erf!) but I did very much enjoy colouring the Yeti's Norman stamped for me from her Crafting Desert Diva's "Yeti to Party" stamp set!


This is the first of three cards I made with them. I'll post up the other tomorrow but the third has to wait as I personalised it for me to send to a reli! :)


Backgrounds are distress inks and oxides, flicked with water. The Yeti is coloured with copics.  Washis are from the stash and Hobbycraft. Fonts are Courier and Lobster two. I added stickles and glossy accents after.

The stitched hill dies are from my friend's craft shop: http://craftykittycatshop.blogspot.co.uk/
The stitched rectangle is from Cottagecutz.

Thursday, April 20, 2017

More experimental cutting!

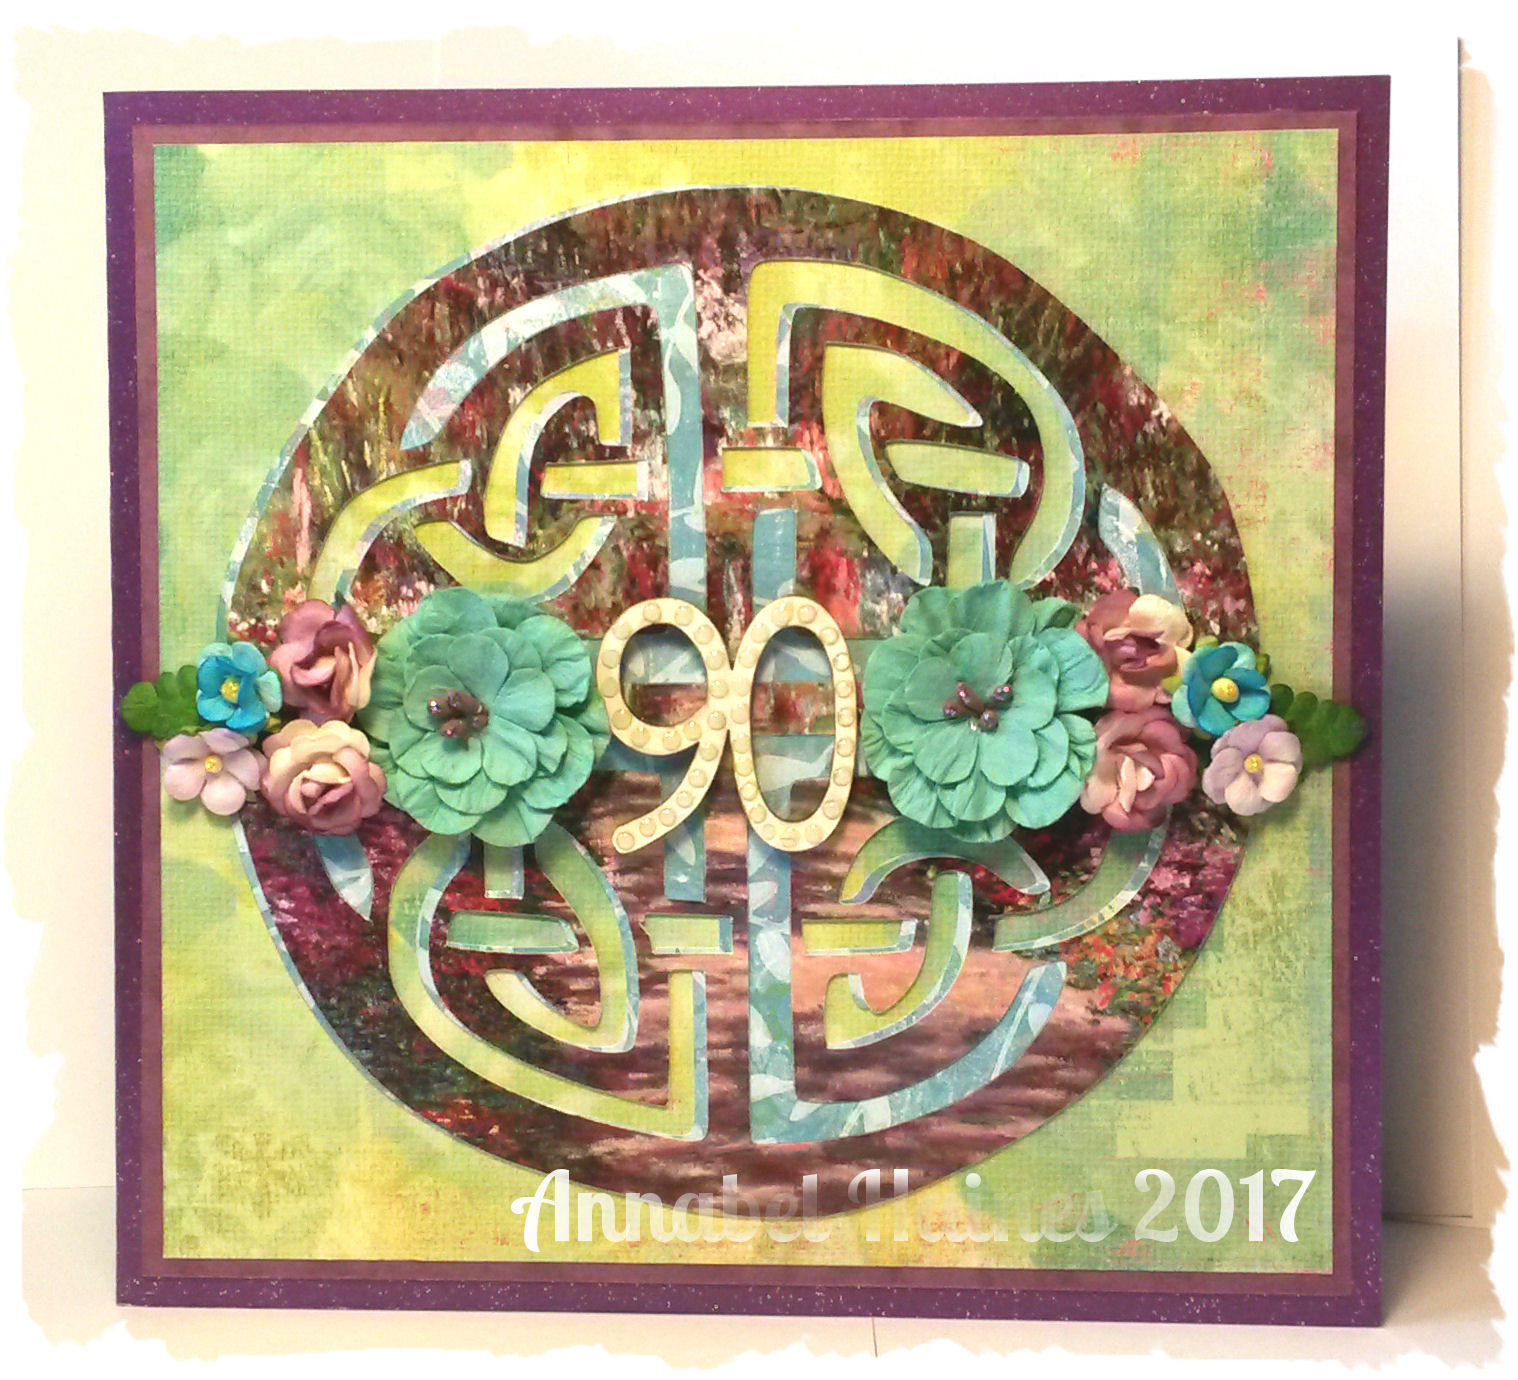
As you might have guessed, there is now no stopping me cutting stuff up! :) This time I used a freebie celtic pattern to make a cutting file and used it on the eclips.


A few months ago, one of our newspapers was giving away free prints of Claude Monet paintings. They were abandoned everywhere in our local coffee shop so I swiped a few at the end of the day to perhaps use as a background image. However, I decided to cut a celtic design out of " Path in the Garden at Giverny" (1901-02) for this card. I wanted a floral/irish feeling card.

Flowers from Wild Orchid, Hobbycraft and stash. Papers from stash. Number from Amelia's Creative Craft Shop in Studley. Embelished with glossy accents, Nuvo crystal drops and stickles.

Friday, January 27, 2017

Craft Kit Review - Turtle Family Pom Pom Kit by Hobbycraft

Just trying something a bit new on the blog, a kit review! A kind friend got me this as a gift, I think because she could see how disastrously wrong it could go, lol! But actually, given how badly my adhoc makes can look, I think she will be surprised ;)

Turtle Family Pom Pom Kit from Hobbycraft. Currently £1.25 on sale.(January 2017) It's also a kit of THREE not FOUR as advertised on their website.


So its this kit, billed as " All you need to create a pom pom work of art"  for ages 3 and up under adult supervision.

I indeed could have done with some adult supervision, and perhaps a few plasters... I can't help having an attention span too short to remember that my glue gun will be HOT!... doh! :)

So it does say you will also need glue, but in my opinion you actually need....


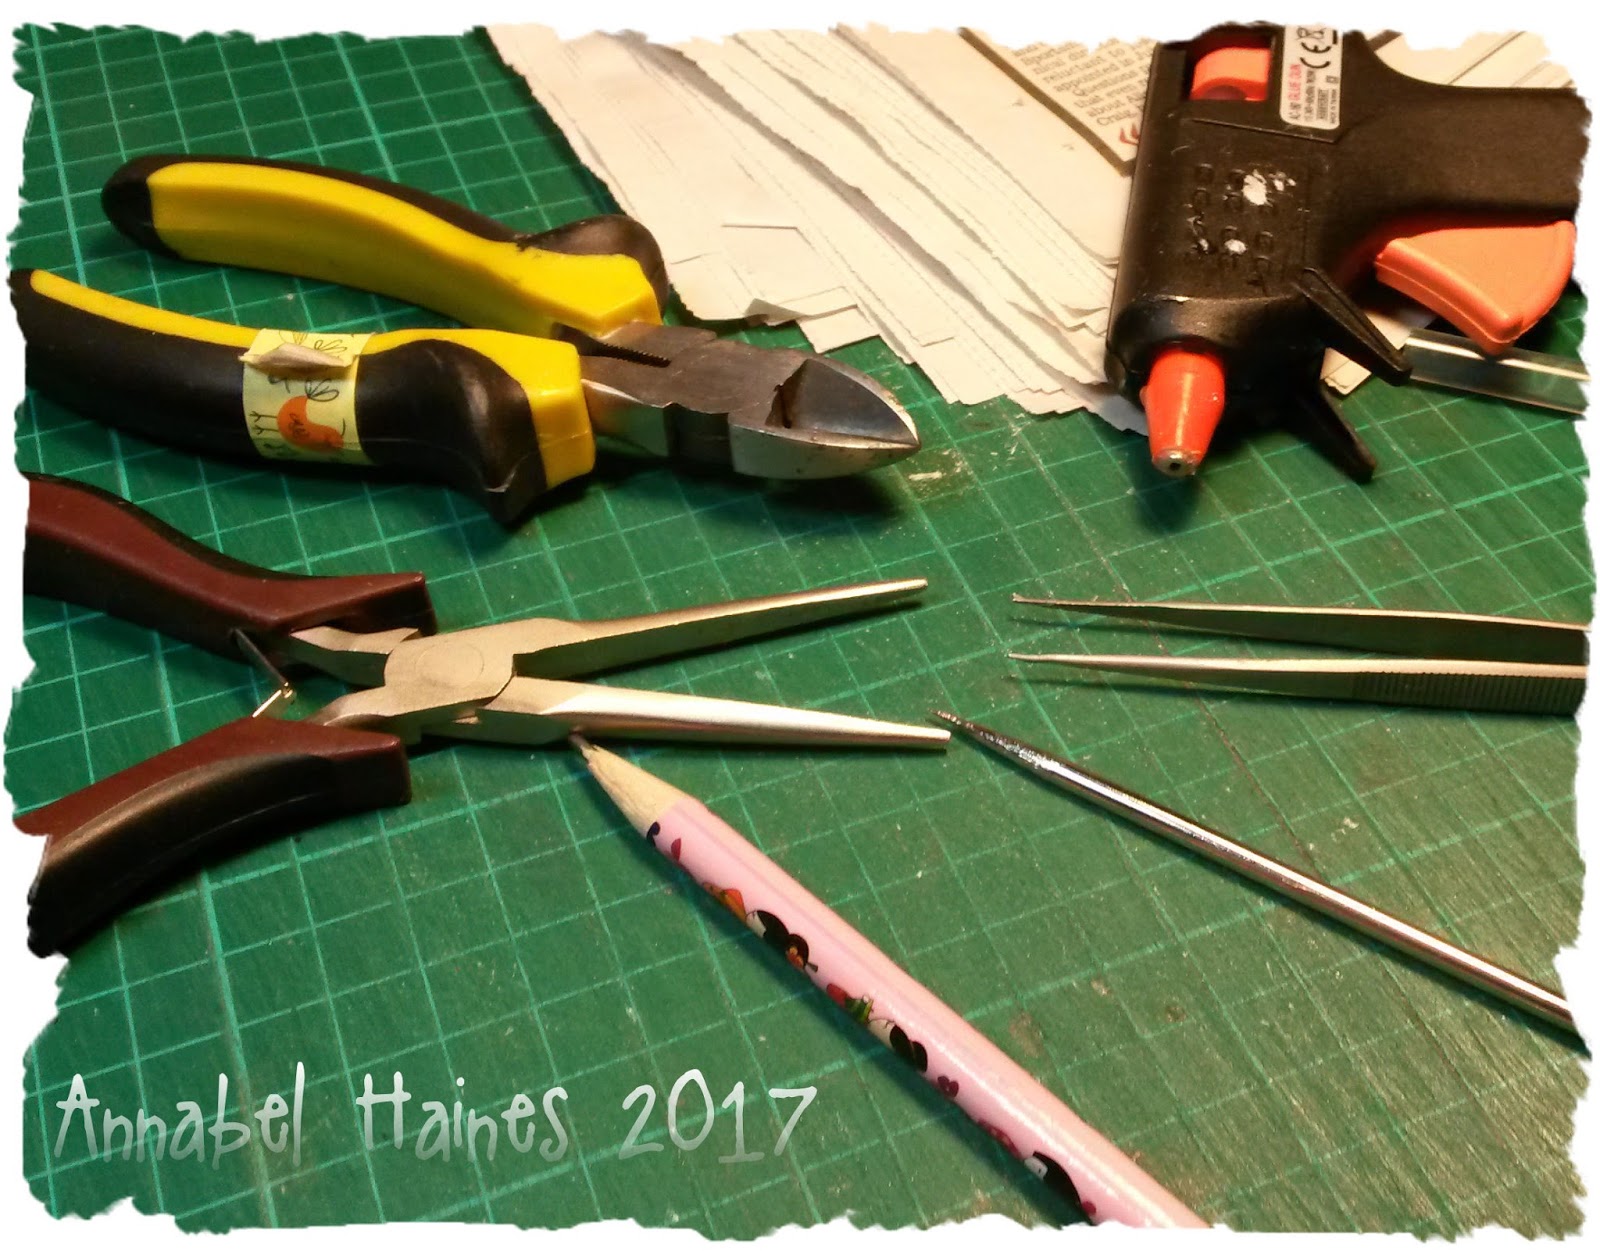
A glue gun (one glue stick refill), some tweezers (so you don't burn yourself sticking on the eyes with the glue gun), a thin cylindrical object and a slightly thicker one (for the legs), some wire cutters and pliers (to fold over the ends of the pipe cleaners if you want them to be non lethal with children) and some newspaper to protect your work area.

There is a picture diagram on the back to explain how to assemble the largest turtle, and then you are left to use your initiative and the photo to assemble the two smaller ones. The diagram and photo are enough instructions for you to get the theory, though in practice, it takes a fair amount of dexterity and a lot of holding things in place and waiting if you don't use a magical glue gun.

So here is the "compare with their picture" photo.


Not too bad? My shells aren't as neat and even as theirs for sure, but on the whole, they kind of look the same.

So they took about an hour to make. Everything else apart from the tools I listed above are included, and I had an odd spare pipe cleaner and pom pom at the end. (Not many left overs if you make a mistake along the way.)

It was fun to make, but quite taxing, not remotely suitable to make with a three year old, I'd think an 11 year old would be pretty worn out by making one, let alone three. Maybe a project for a crafty parent/aunt/uncle who can complete it in their own time when the child is bored after ten minutes?

They look quite nice, and are pretty robust with the glue gun factor, but I dunno what to do with them. I might add on a wire and pop them in a plant pot to cheer up a sad houseplant this spring!


Monday, August 08, 2016

Cube Steppers

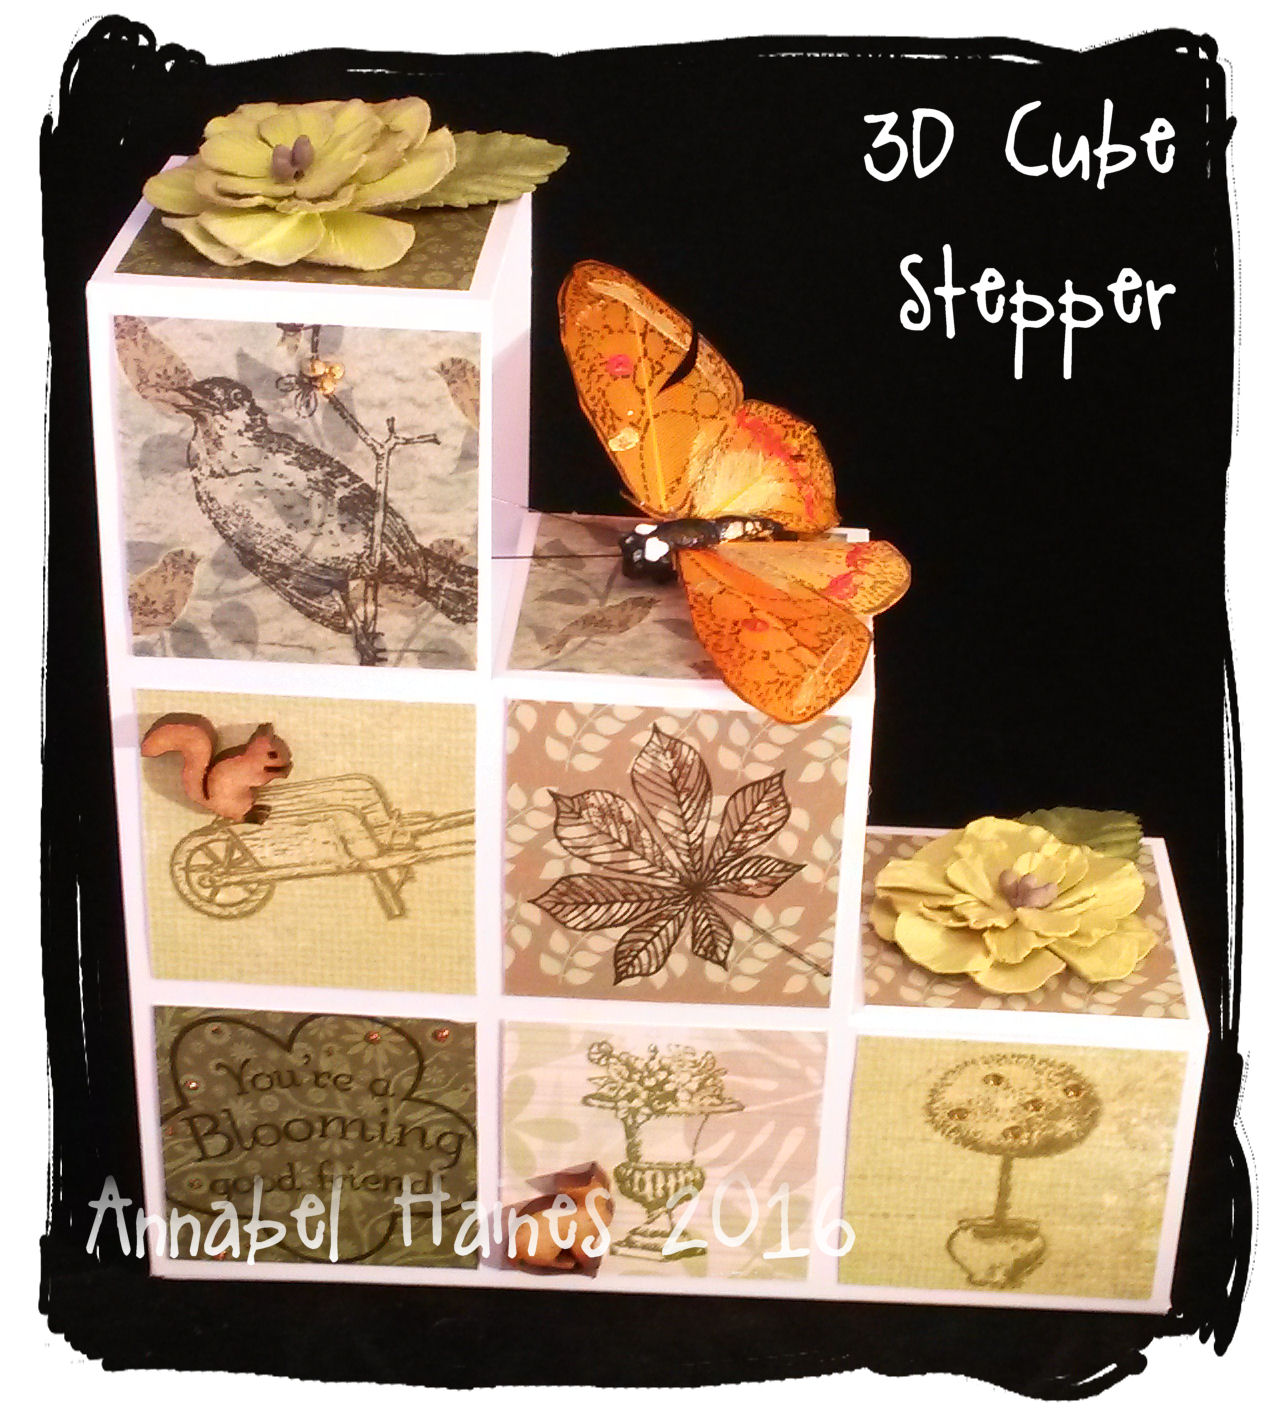
So after loving the 3D Pop Up Boxes from Every Crafts A Pound, I thought I would try another design - Cube Stepper Card! 

I had in a commission for a gardening card for a man so went with quite a muted green scheme with laser cut wooden embellishments. ( The wooden pieces fold flat in the envelope and are propped up by little legs when the card is up.)

All the images are from various stamp sets I own. In these pics, stamps from,
  • The Rose Garden Collection by Clear Impressions
  • The Mabel Lucie Attwell Collection from Katy Sue Designs
  • Hobby Art - Falling leaves
  • Graphic 45/Hampton Art - Secret Garden
Wooden die cuts from Hobbycraft and the stash.
Leaves from Wild Orchid.

Commissioned Card.

 Close up of the laser cut wood pieces.


Friday, November 27, 2015

Flowery bags

Another commision, this time for handbags! It's been a long time since I have tried to make this kind of card and I'm not sure years of experience made too much of a difference ; ) They do at least now stand up, unlike my very first attempt when I started out! Went for two colour themes and used flowers from the stash to complete them. Loving enamel bling right now ( Can you tell? ) and using some of the same trusty diecuts.  All the papers are magazine freebies.


Flowers from Wild Orchid and Hobbycraft.

Monday, November 23, 2015

Peacock Feathers.

I recently picked up a kids sticker book called "Edwardian Fashion - Usborne Historical Sticker Dolly Dressing." and thought there was potential for some fab cards! I am also pretty excited to find out that it is a series and there are more books with different fashion eras to find too! It might have to be for personal projects only, but I really enjoyed making this card using them. This is Cecily, and her peacock gown.

Flowers from Wild Orchid Crafts and Hobbycraft.

Friday, November 06, 2015

Minnie Easel Card

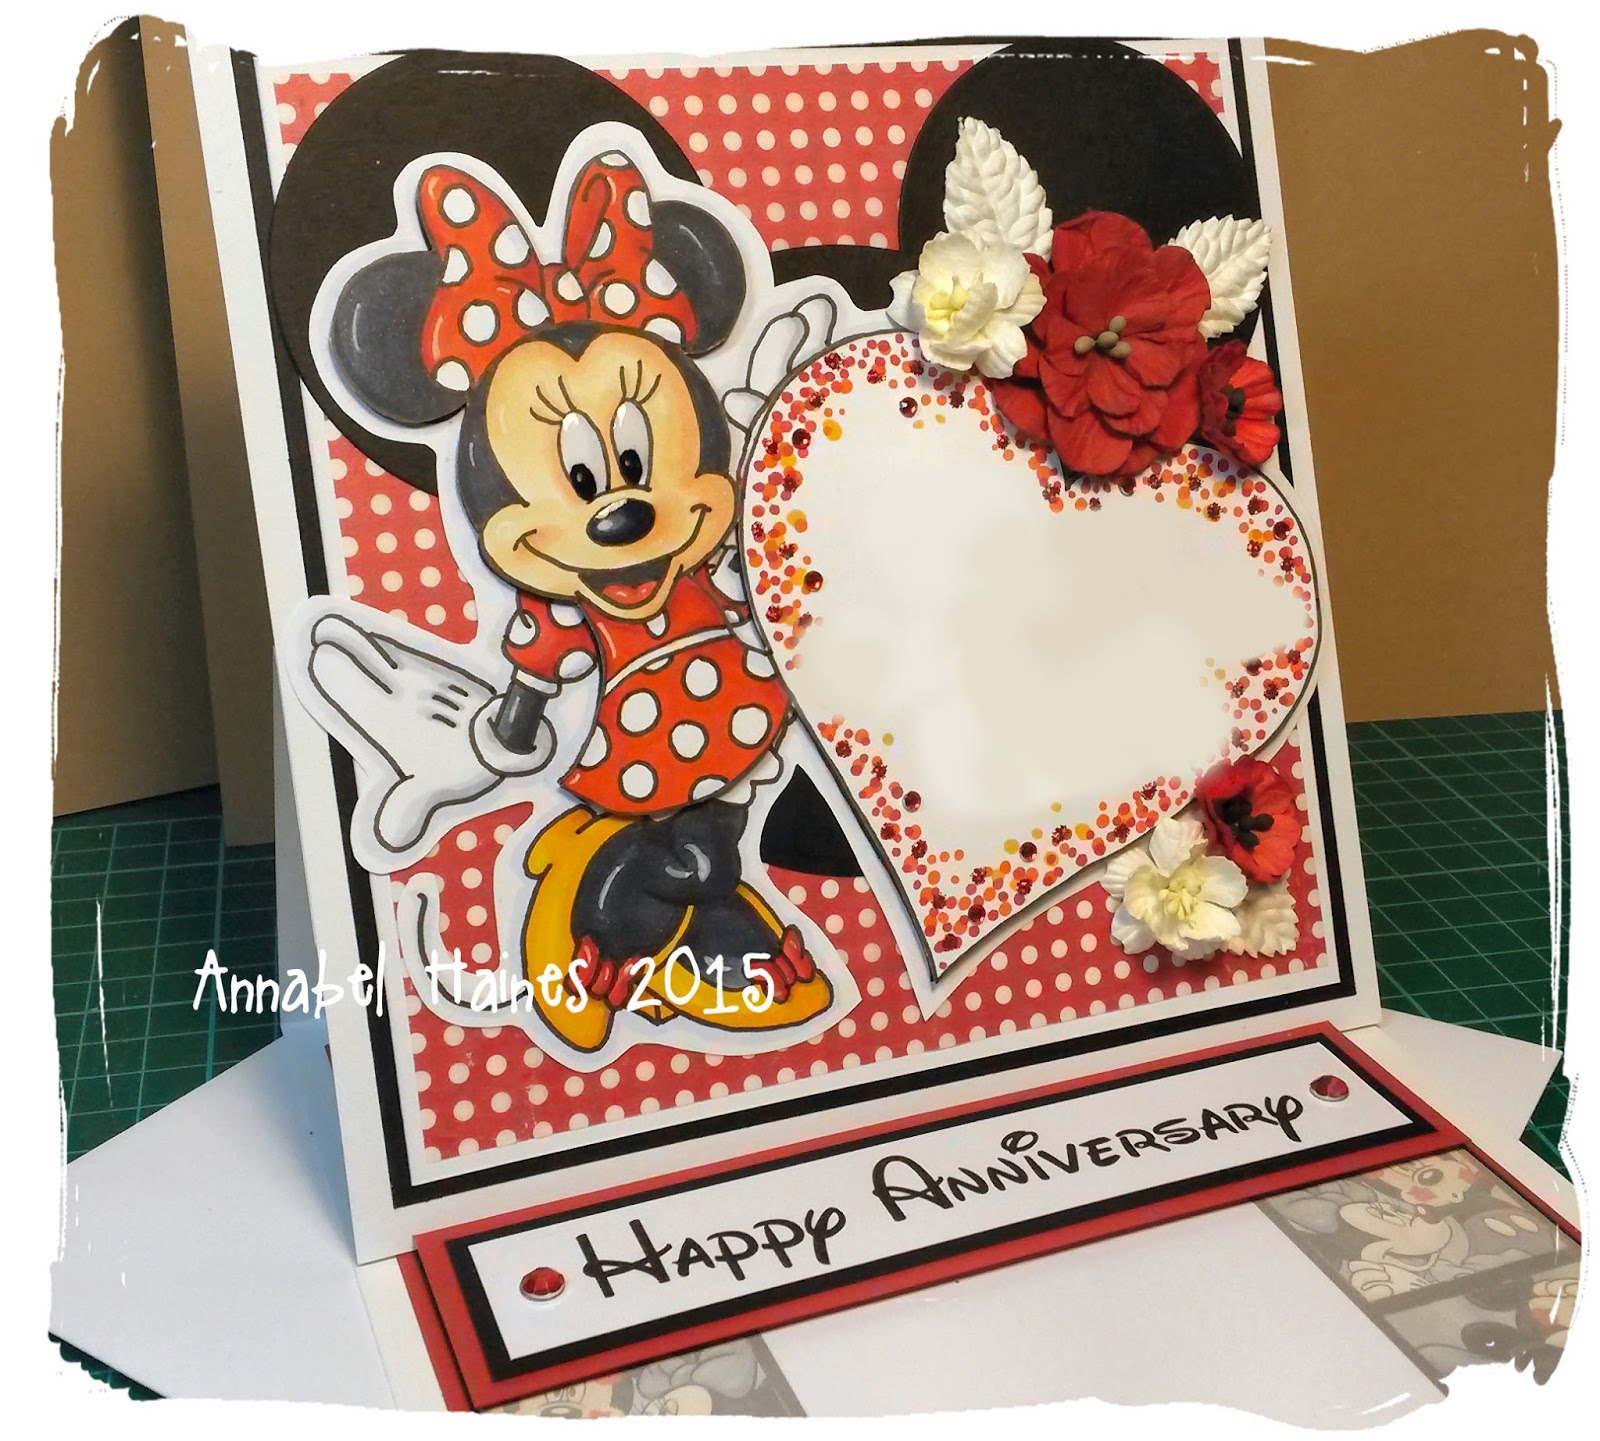
It's nice to use a Disney image occasionally, even though there are fairly rigid rules on selling them! So, this is not for sale folks. :)


Hand drawn main image coloured with Copics.
Waltograph font.
Flowers from Wild Orchid and Hobbycraft.