Friday, December 28, 2018

At the bus stop...

Another friday and time to introduce you to one of the characters from the Bus Stop Bunch! Dr. Digi kindly split up the original bus stop digi into individual characters for us to use! Here is the original -


And I selected Babs, on the right, to colour today! And her little dog Baldric!


I like setting myself new challenges, so this time I wanted to have a go at a puffa jacket! 
Here is a close up of her -


And here is the digi image you can get of just her ( In know people like to compare the digi to the colour version). 


As normal she is coloured with polychromo pencils on kraft card. My kraft card stash is running very low and I am unable to find it to buy anywhere so it looks like I might have to learn to colour on something new, lol!


If you are interested in how I coloured her hat there is a photo demo of how I do knitted texture here.
I have also added a close up of Baldric and if you would like to see a demo of how I do fur, that is here!


As well as the polychromo pencils I used white posca paint pen for highlights. The stars are a recent purchase from Paperchase. The font I used for the sentiment is Grilled Cheese BTN. Background paper is from Papercrafter Magazine. I also used a 7x5 kraft card blank.

If you would like to see what else is in the Dr.Digi shop, please click the banner below. Thanks for visiting!


Friday, December 21, 2018

From the stash...

The unused stamp set stash is getting a bit embarrassing, so I thought I should crack on and use another hoarded stamp set that I love! This stamp set is from Mama Elephant and is called Me & My Yeti. (I had my copy from Diestodiefor).


I made two versions, using up almost all of the set between the two cards. I stenciled a background using distress oxides and then cut out and added the elements which were coloured with copics. The greeting is from a magazine freebie set and the background paper is from a Lawn Fawn Perfectly Plaid 6x6 Set.


To add a bit of depth and scenery I used a Joy die called "Mery's Christmas Tree and House Border". I also added some shadow, white posca pen highlights and some stickles glitter.

Friday, December 14, 2018

Tea-L-C

Dr.Digi's retro-friday today, I wanted to get my magazine cards blogged this year so popping in with Tea-L-C, a project I did for Making Cards Magazine earlier this year, along with Tea Trolly Dolly and Perfect Sunday.


Here she is, Tea-L-C digistamp coloured with polychromo pencils on kraft card. I also used a sentiment & biscuits from the Tea Time Sentiment Set and a backing paper from the awesome Tea & Bickies Backing Paper Set. 

If you are interested in buying any of the Dr.Digi products I have used for any of the cards I made for the magazine they are also all part of the "Tea Time Set" which is only £5, so an amazing deal, it's got 9 digis in it, as well as the papers!


Because I made her for the magazine I have some additional details including pencil selections and a recipe for making the card, so here goes!

Card Recipe.

Base
  • Create 17.5 cm x 12.5 cm card blank.
  • Print out onto white paper the Bickie – Rich Tea backing paper from the Tea and Bickies Backing Paper Set.
  • Line paper up centrally on card, adhere with double-sided tape and cover card blank. Cut off any excess.


Topper
  • On the PC make a topper image (16.5 cm x 11.5 cm) using Tea-L-C digistamp and sentiment from Tea Time Sentiments Sheet. Resize elements to fit.
  • Make digistamp paler.
  • Add an edge on the topper before printing to make it easy to cut out straight.
  • Print out topper directly onto Kraft Card. Also print on the same A4 sheet the digistamp once again, at full strength to use as a guide when you colour.


Colouring
  • Colour in Tea-L-C  digi with Faber Castell Polychromo Pencils.
  • Sketch in a warm brown floor surface for her to sit on also with Faber Castell Polychromo Pencils.
  • Add highlights using White (0.7 mm) Posca Pen.
  • Clean up any smudges and pencil dust around your image using an eraser.
  • Cut out topper. Using a curved edge to guide you, cut off one of the corners. 


Assemble
  • From the sentiments sheet print and cut out a tiny set of biscuits and one larger Rich Tea Biscuit (4.5 cm diameter). For a perfect circle use a round die to fit your large printed biscuit.
  • Stick the Rich Tea biscuit into right hand corner of card front. Check words can be seen.
  • Glue a stack of tiny biscuits to her plate and cover over the digi’s cup cake.


To Finish
  • Using 3D foam place topper onto card
  • Add Ranger Glossy Accents to glasses and jam in jammy dodgers. 
  • Add some Neon Flamingo Stickles to the pattern on her dress.

Polychromo Pencil Guide:

Skin: 101, 129, 130, 132, 177, 190, 219
Dress; 101, 129,133, 219
Slippers: 101, 129, 133
Chair: 101, 108, 109, 177, 180, 274
Cat: 101, 108, 115, 164, 190, 199, 219, 274
Wood: 101  177, 187, 190

Thanks very much for visiting today, I hope you feel inspired to do a bit of colouring! She is a smashing stamp to colour up, plenty of texture options! Now I must go and make myself a cuppa, and be very English about things :) lol.


Sunday, December 09, 2018

A bit of Avery Elle for Christmas

Here are a few Christmas cards I made using two Avery Elle Stamp Sets, Brring On the Joy and Winter Woodland Wonders. I got both sets from Dies to Die for, so links to them there.

Each card uses a stenciled background and topper images coloured with copics. :)


She-Ra. Or She-Nar.

Do you remember She-Ra on the tele? Friend of He-Man? Unfortunately my poor Ex-Work-Colleague, Sheenagh was rather renamed at some point in work history, plus Shenar is easier to spell. 


I had this image from Mayzy Art to make her a card. I think  Mayzy Art is no longer live, I'd love to link to the shop here and give them full ownership, I'm not sure if they intended this to be a freebie, but it's free online now. Anyway, thanks Mayzy Art for the awesome image!

 (If you know different please pop me a message!) 

I had to use this image tho, it's such a cool version of She-Ra, and was great fun to colour. I used copics for this one!

Friday, November 30, 2018

Perfect Sunday but on Friday.

Hi again! First off, I have now completed one year working for Dr.Digi! Hooray! Now, back to work....

 It's my normal Dr.Digi's friday post but I'm time-travelling a bit with this and sharing with you a card I made a few months ago for Making Cards Magazine! (I made three cards for this and the first one is blogged here, the third one is yet to be blogged!)


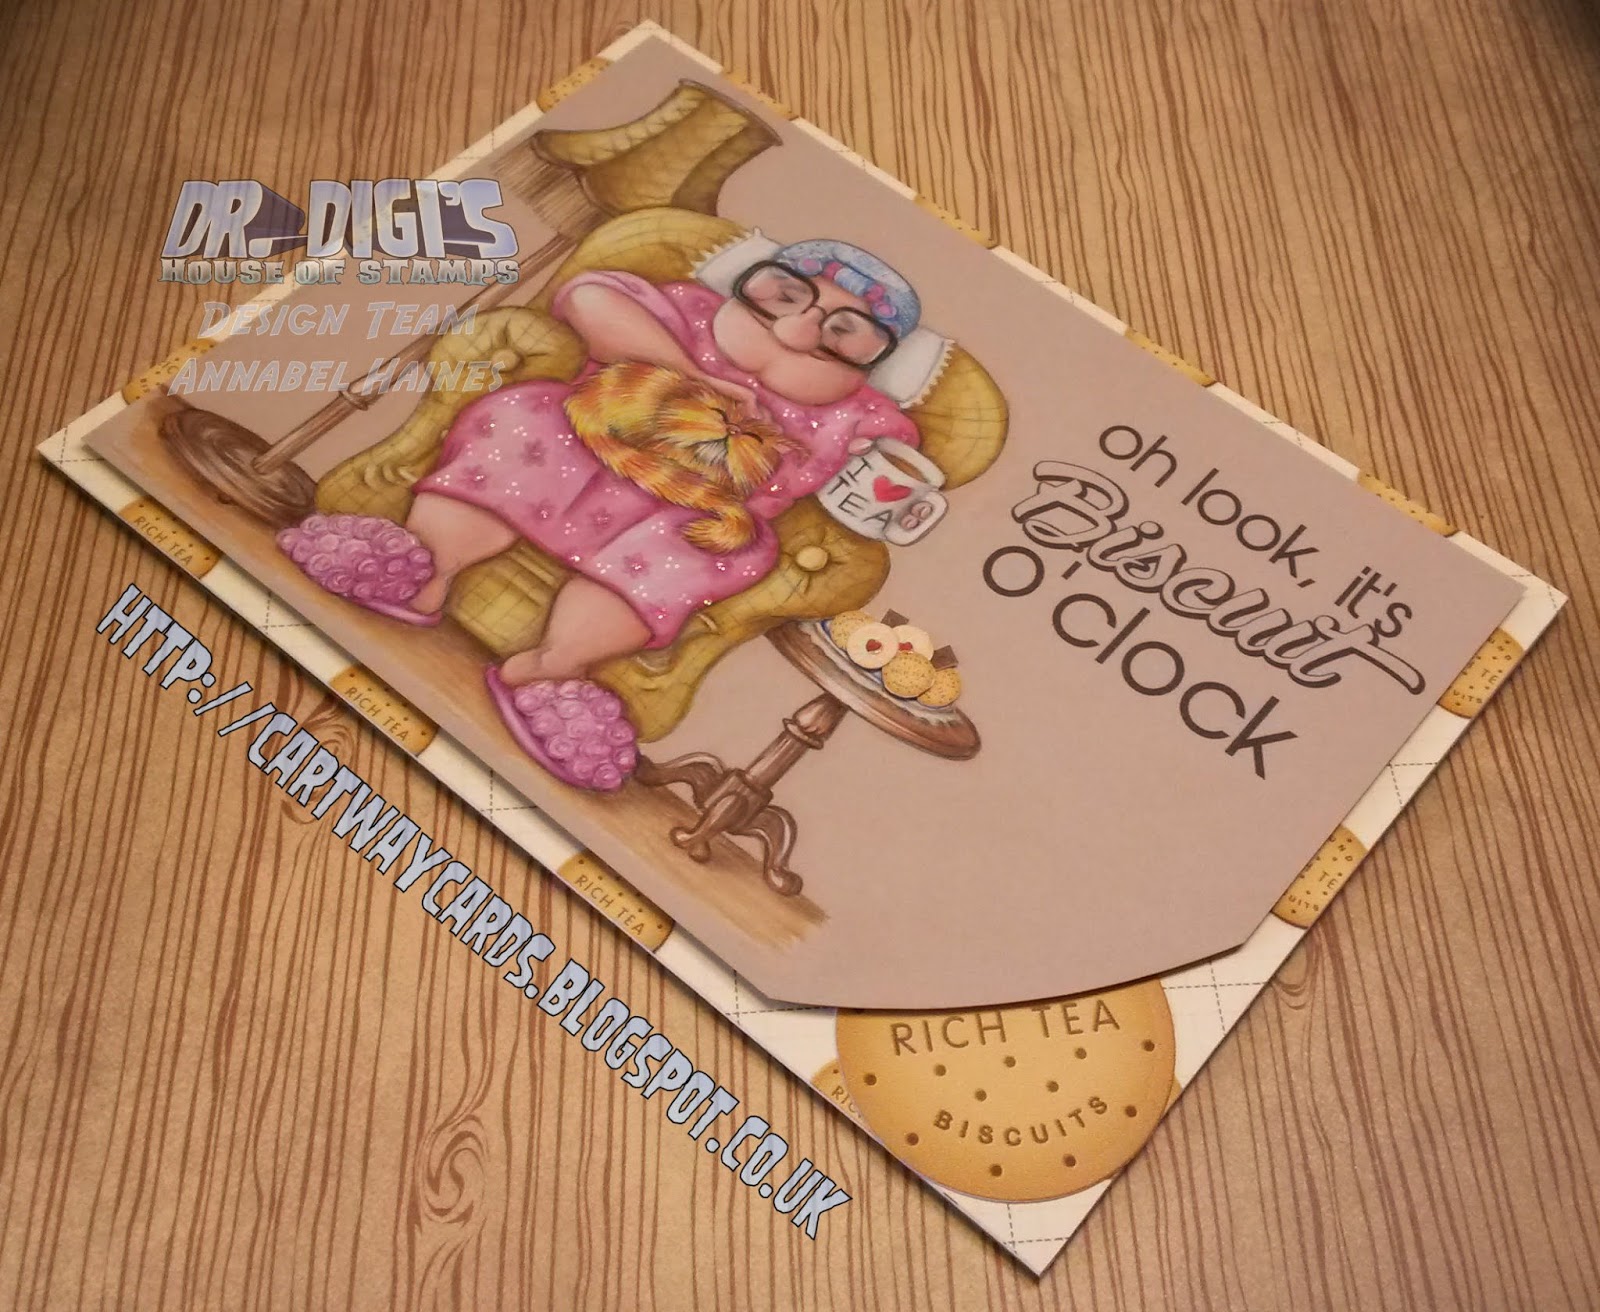
I had a "British" theme to work with so one of the digis I chose was "Perfect Sunday" featuring Ambrose and Trotsky the dog.
You can get this digi here, but also he is part of the Tea Time Set (saves you a load of money so worth checking out) and the Weekend Set (if you fancy using those digi's more?) plus Trotsky is available by himself as a digi here, and he is also part of the Animals Set!

So here is my card (finally, lol!)


I coloured him with polychromo pencils on kraft card. The sentiments are all from the Tea Time Sentiment Sheet and the backing paper is from the Tea & Bickies Backing Papers Set.


Because this was for a magazine I have also prepared a detailed recipe with how I made it and which pencils I used so I'm going to share that here too in case you want to have a go with him?


Recipe!

Base: 
  • Create 17.5 cm x 12.5 cm card blank.
  • Print out onto white paper the Bickie – Brew backing paper from the Tea and Bickies Backing Paper Set.
  • Line paper up centrally on card, adhere with double-sided tape and cover card blank. Cut off any excess.


Topper: 

  • On the PC make a topper image (16.5 cm x 11.5 cm) using Perfect Sunday digistamp and sentiments from Tea Time Sentiments Sheet. A small sentiment is also on the bone. Resize elements to fit.
  • Make digistamp paler.
  • Add an edge on the topper before printing to make it easy to cut out straight.
  • Print out topper directly onto Kraft Card. Also print on the same A4 sheet the digistamp once again, at full strength to use as a guide when you colour. Print out the topper once again by itself.


Colouring: 

  • Colour in Perfect Sunday with Faber Castell  Polychromo Pencils.
  • Add highlights using White (0.7 mm) Posca Pen.
  • Clean up any smudges and pencil dust around your image using an eraser.
  • Cut out the coloured digistamp from one topper and 3D foam mount onto the other uncoloured topper.   Cut out uncoloured topper. Using Fiskars Rounder Corner Scissors, cut off bottom right corners.


To Finish:

  • Using 3D foam place topper onto card
  • Add Ranger Glossy Accents to glasses and Trotsky’s eyes and nose.
  • Add pearl bling around digi and one in the bottom right corner to finish.


Pencils Used!

Skin: 101, 129, 130, 132, 177, 190
Hair and Beard: 101, 199, 232, 274
Shirt: 101, 120, 146, 151
Waist Coat and Socks: 101, 110, 115, 121, 177, 225
Trousers: 101, 199, 233
Shoes: 101, 177, 180, 190, 274
Chair: 101, 177, 219, 225
Poof: 101, 120, 146, 151
Bone: 101, 108, 177, 180
Dog: 101, 123, 130, 132, 177, 187, 190, 199, 250


Products used:

Kraft Card and Kraft Card Blanks
White paper for printing
Faber Castell Polychromos (24 pencil box set and a few additions)
Ranger Glossy Accents
Pearl Bling
White Posca Pen (0.7mm)
3D foam tape
Double sided tape
Cosmic Shimmer Glue
PC and a printer
Graphic Editing Software
Sharp knife and ruler or guillotine
Small Scissors
Fiskars Rounder Corner Scissors
Derwent Electric Eraser
Faber Castell Pencil Sharpener


Right! That's it, such a long post, but I hope there was something in all of that you were interested in, even if it's just a pencil colour combo? :D If you would like to check out the all new shiny Dr.Digi Shop, please click the image below!


Thursday, November 22, 2018

ALIEN DAY Part 4/4

The fourth and final card for Dr.Digi Alien Day and here is Xfiles Xmas Alien in his fourth and most festive get up.
All four cards are CAS cards, with a simple Xmas greeting (In Mister Sirloin Font) and here is card four!


I have to credit my partner with this idea. Just for once it wasn't my fault that I added some bits and pieces to the digi image! He made me do it! lols! All I did was print out the digi with some much paler sections so I could go outside the lines and draw in a few clothes/beards!


Coloured with polychromo pencils on kraft card with some help from a white posca pen. Once coloured I mounted him onto a 7x5 cardbase and add some stickles and bling from the stash.


So as it's Alien day, the Boss has released a secret alien code for you to use at checkout in the NEW Dr.Digi's shop!! Please commit to memory the code word "ROSWELL" and you'll get 50% off the Xfiles Xmas Alien digi! (Add digi to you basket, and when you checkout click the drop down arrow next to the "Apply Coupon Code" option and enter your code before checking out.)


So what was your favourite Alien? Let me know below!

ALIEN Day Part 3/4

This is my third project for  Dr.Digi Alien Day and here is Xfiles Xmas Alien in his third and far more prickly outfit!
All four cards are CAS cards, with a simple Xmas greeting (In Mister Sirloin Font) and here is card three!


So as Xfile Xmas Alien is probably consider a "Grey" I thought it was about time to do a grey version! But also, his skin is inspired by reptile skin!


Coloured with polychromo pencils on kraft card with some help from a white posca pen. Once coloured I mounted him onto a 7x5 cardbase and add some stickles and bling from the stash.


So as it's Alien day, the Boss has released a secret alien code for you to use at checkout in the NEW Dr.Digi's shop!! Please commit to memory the code word "ROSWELL" and you'll get 50% off the Xfiles Xmas Alien digi! (Add digi to you basket, and when you checkout click the drop down arrow next to the "Apply Coupon Code" option and enter your code before checking out.)

Have you popped to look at the new shop yet?

ALIEN Day Part 2/4

The second part of my line up for Dr.Digi Alien Day and here is Xfiles Xmas Alien once again.
All four cards are CAS cards, with a simple Xmas greeting (In Mister Sirloin Font) and here is card two!


Not so traditional Alien, in fact he is inspired by ambilobe panther chameleon! (I had to research chameleons for a card I made for Little Blue Button Stamps, and this one was my favourite spectacular finds!) 


Coloured with polychromo pencils on kraft card with some help from a white posca pen. Once coloured I mounted him onto a 7x5 cardbase and add some stickles and bling from the stash.


So as it's Alien day, the Boss has released a secret alien code for you to use at checkout in the NEW Dr.Digi's shop!! Please commit to memory the code word "ROSWELL" and you'll get 50% off the Xfiles Xmas Alien digi! (Add digi to you basket, and when you checkout click the drop down arrow next to the "Apply Coupon Code" option and enter your code before checking out.)


Pop for a look at the new shop? It's so shiny! 

It's ALIEN Day! Part 1/4

Or Alan day as autocorrect suggested! So helpful! Today has been declared Dr.Digi Alien Day (by me!) and I have four projects to share with you today. They all feature the Xfiles Xmas Alien and they are CAS cards, with a simple Xmas greeting (In Mister Sirloin Font) and here is card one!


Traditional Christmas Alien Styley. Yes, it's a real thing.


They are all coloured with polychromo pencils on kraft card with some help from a white posca pen. Once coloured I mount them onto a 7x5 cardbase and add some stickles and bling from the stash.


So as it's Alien day, the Boss has released a secret alien code for you to use at checkout in the NEW Dr.Digi's shop!! Please commit to memory the code word "ROSWELL" and you'll get 50% off the Xfiles Xmas Alien digi! (Add digi to you basket, and when you checkout click the drop down arrow next to the "Apply Coupon Code" option and enter your code before checking out.)


Pop for a look at the new shop anyway? It's so shiny!